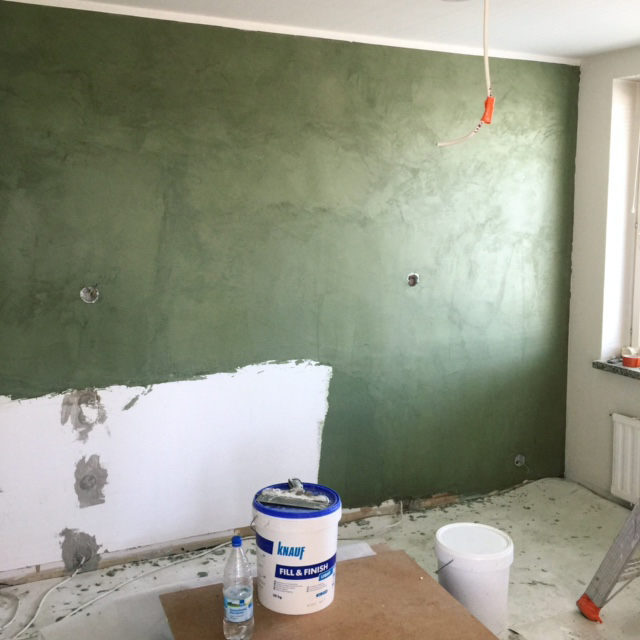
Now there is both a bathroom that the kitchen microcement walls are ready. The bathroom, with all its corners and pipework, was done by a professional and the blank straight wall surfaces in the kitchen were done by my own hands and my father's hands. The material is mixed from powder and colourant, first one layer of a coarser base material and then two layers of a slightly silkier top coat. The surface is allowed to dry and then sanded. We sanded it by hand with sandpaper. Finally, the surface is varnished. The lacquering was also done by a professional for the kitchen, as it was on schedule so.
An important observation: next time, remember not to use masking tape with microcement! The microcement stiffens up immediately and the porous masking tape can no longer be removed cleanly. Now I had to clean up and paint the roofline separately afterwards...
From our contractor there was also a note from a micro-cement professional. He hadn't protected the floors, so splattered, solidified cement castings had to be scraped away, when the job could have been easily avoided in advance just by protecting the floors.
The end result is but all in all, at this stage, I think it's damn good! A concrete look, but with a smooth coloured surface.


 English (UK)
  Suomi
Suomi